What’s Growing? A Lot. What’s New? Even More.
Summer has officially arrived, and Davidson County’s local food scene is in full swing! From farmers markets overflowing with fresh harvests to new products making their way into the community, there is always something exciting growing right here at home.
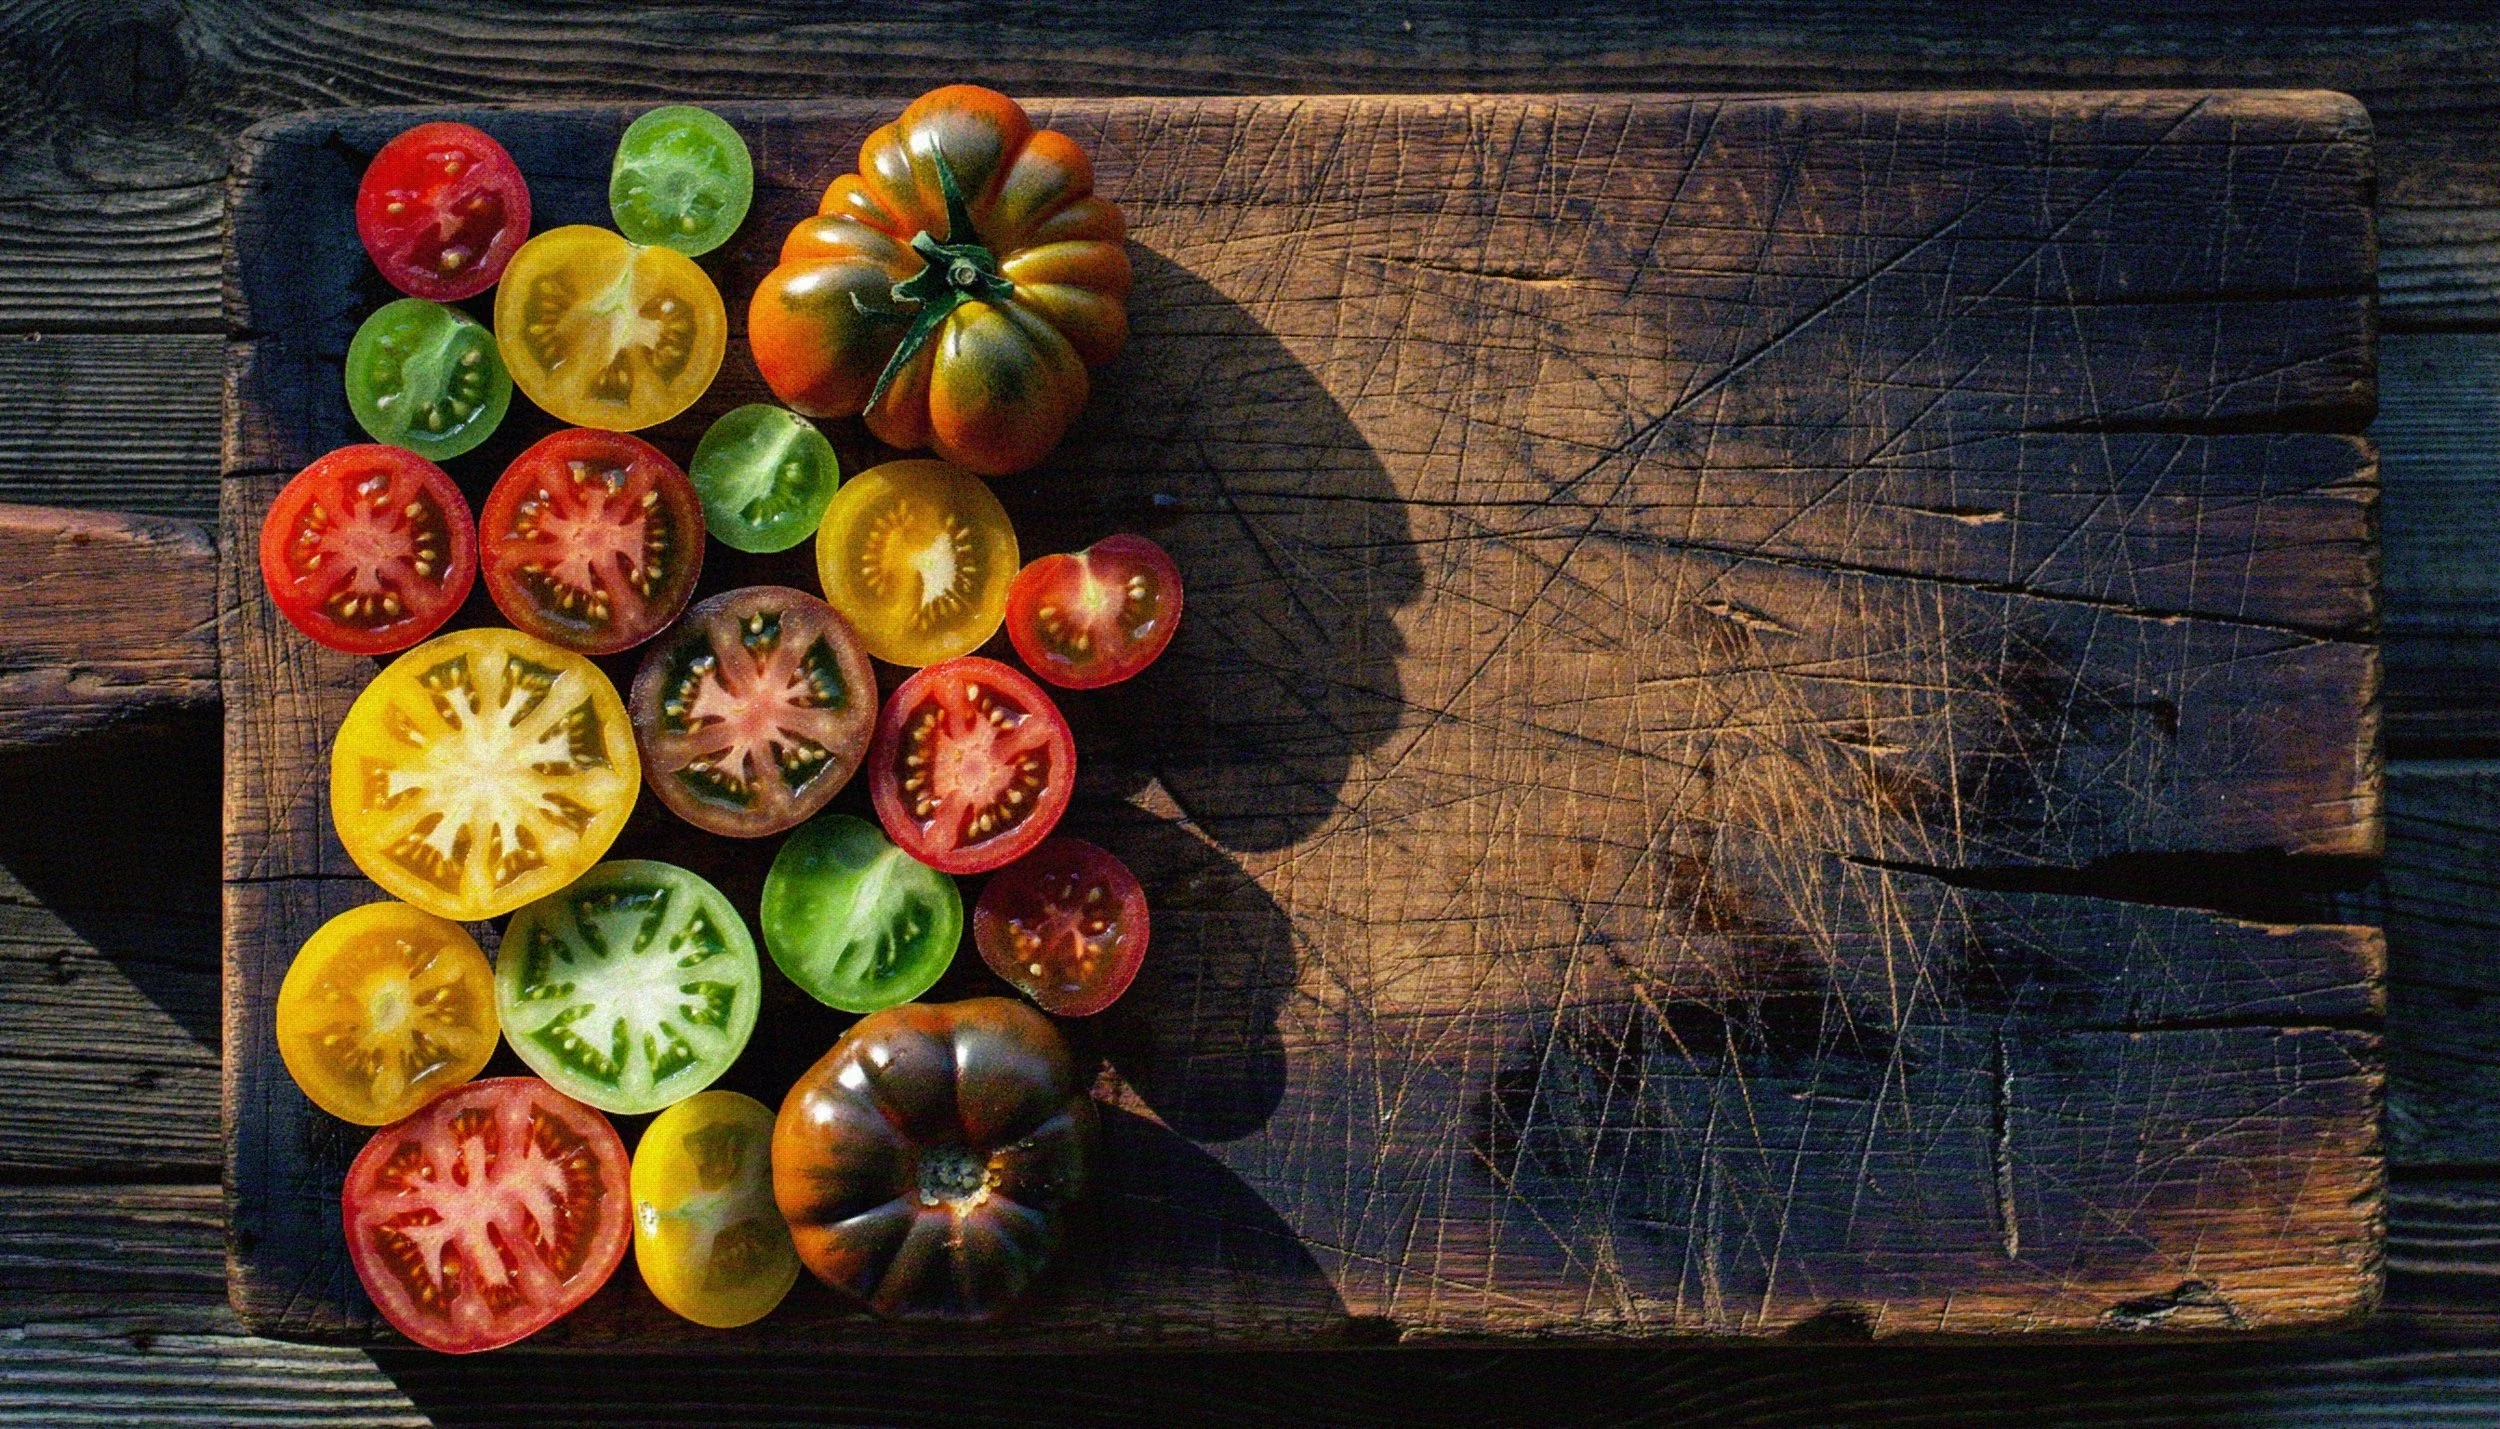
This time of year is one of the best for shopping local. Farmers are bringing in some of the season’s favorites, including juicy blueberries, ripe tomatoes, crisp lettuce, fresh herbs, colorful florals, and so much more. Each week brings something new as local growers continue to harvest the fruits (and vegetables!) of their hard work.
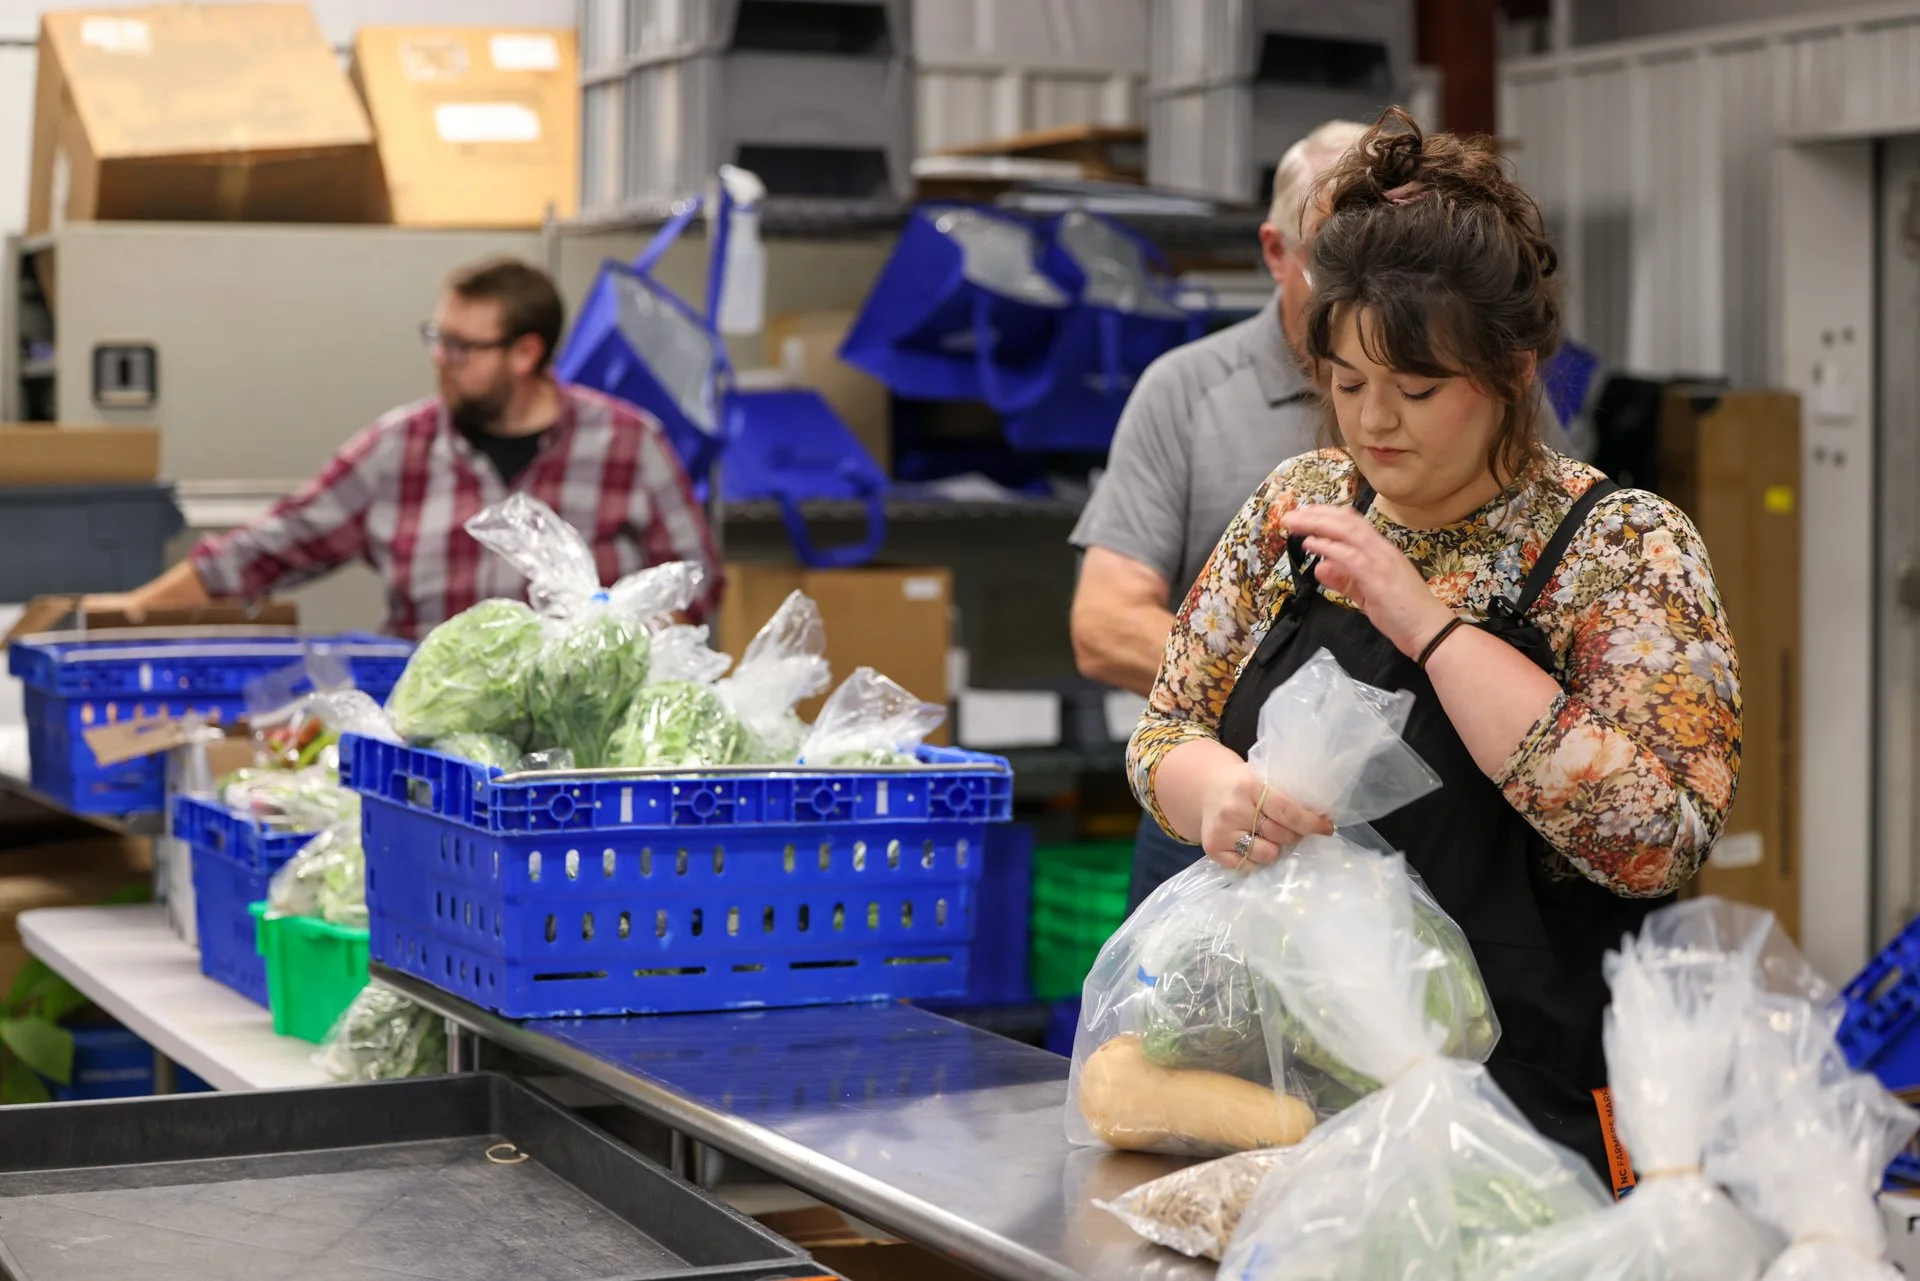
If you haven’t visited your local farmers market lately, now is the perfect time to stop by. The Thomasville and Lexington Farmers Markets are open every Saturday from 8 AM–12 PM, offering a chance to meet local farmers, discover fresh products, and support the people who help keep our community’s food system thriving.
Shopping locally means more than just bringing home fresh food. It helps strengthen our local economy, supports family farms, and keeps more of your food dollars right here in Davidson County. Plus, there’s nothing quite like enjoying produce that was grown just down the road and harvested at its peak.
👀 Something New is Coming to Piedmont Fresh
We have something exciting in the works! While we can’t share all the details just yet, we have a little surprise coming soon that we think our local food community will love.
Make sure you’re following the Piedmont Fresh Facebook page so you don’t miss the announcement. Trust us, you’ll want to stay tuned!
🌻 Grow Your Garden Knowledge

Want to take your gardening skills to the next level? Davidson County Cooperative Extension is offering a free Gardening Class Series this season for anyone interested in learning more about growing, landscaping, and caring for outdoor spaces.
Whether you’re planting your first backyard garden or looking to expand your knowledge, these workshops offer helpful information for gardeners of all experience levels. Topics include vegetable gardening, home fruits, healthy lawns, ornamentals, soils and composting, and pest management.
Classes will be held August 4 through September 8 from 9 AM–12 PM at the Davidson County Agricultural Center in Lexington. These workshops are a great opportunity to learn from local experts, connect with other gardeners, and build confidence in your own growing journey.
🌱 Register here: go.ncsu.edu/davidson-gardens
From the farmers who are harvesting fresh summer crops to the gardeners learning how to grow their own, there is always something new taking root in our community. We’re excited to continue sharing the stories, people, and products that make our local food system so special.
Stay tuned, because there’s always something growing!